Replacing a shower cartridge is a task that many homeowners tackle to fix leaking faucets or to upgrade their shower systems. However, this seemingly straightforward project can become a source of frustration if common mistakes are made. In this article, we will explore the pitfalls to avoid when replacing a shower cartridge, ensuring that you can tackle the job efficiently and effectively.
Understanding the Shower Cartridge
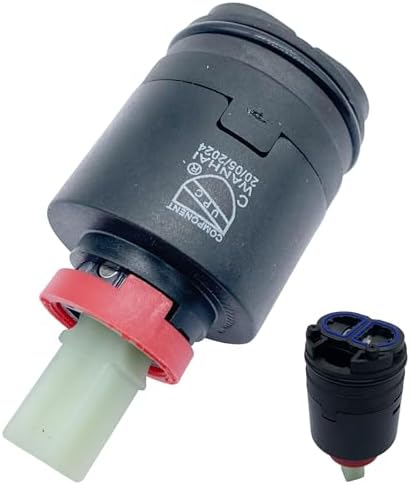
Before diving into the mistakes, it’s crucial to understand what a shower cartridge is and its role in your shower system. A shower cartridge is a valve mechanism that controls the flow and temperature of water. It is typically found in single-handle shower faucets but can also appear in multi-handle setups.
When a shower cartridge begins to fail, you may experience:
- Leaking water
- Inconsistent water temperature
- Difficulty in turning the handle
Identifying these issues early can save you from more significant plumbing problems down the road.
Common Mistakes to Avoid

1. Not Turning Off the Water Supply

One of the most critical steps in any plumbing project is to turn off the water supply. Failing to do so can lead to:
- Water spraying uncontrollably
- Significant water damage
- Increased cleanup time
Always locate the shut-off valve before starting the replacement. If your shower doesn’t have a dedicated shut-off, turn off the main water supply for your home.
2. Using the Wrong Tools
Using improper tools can complicate the replacement process and even lead to damage. Common tools needed for replacing a shower cartridge include:
- Screwdrivers (flathead and Phillips)
- Adjustable wrench
- Plumber’s tape
- Pliers
Ensure you have the correct tools on hand before starting. If you’re unsure about the type of cartridge you have, consult the manufacturer’s instructions or take the old cartridge to a hardware store for comparison.
3. Neglecting to Inspect the Old Cartridge
Before discarding the old shower cartridge, take the time to inspect it thoroughly. This can provide valuable insights into what went wrong and help prevent similar issues in the future. Look for:
- Signs of wear and tear
- Corrosion or mineral buildup
- Cracks or breaks
Understanding these signs can also help you choose a more durable replacement part, potentially saving you time and money in the long run.
4. Failing to Use Proper Replacement Parts
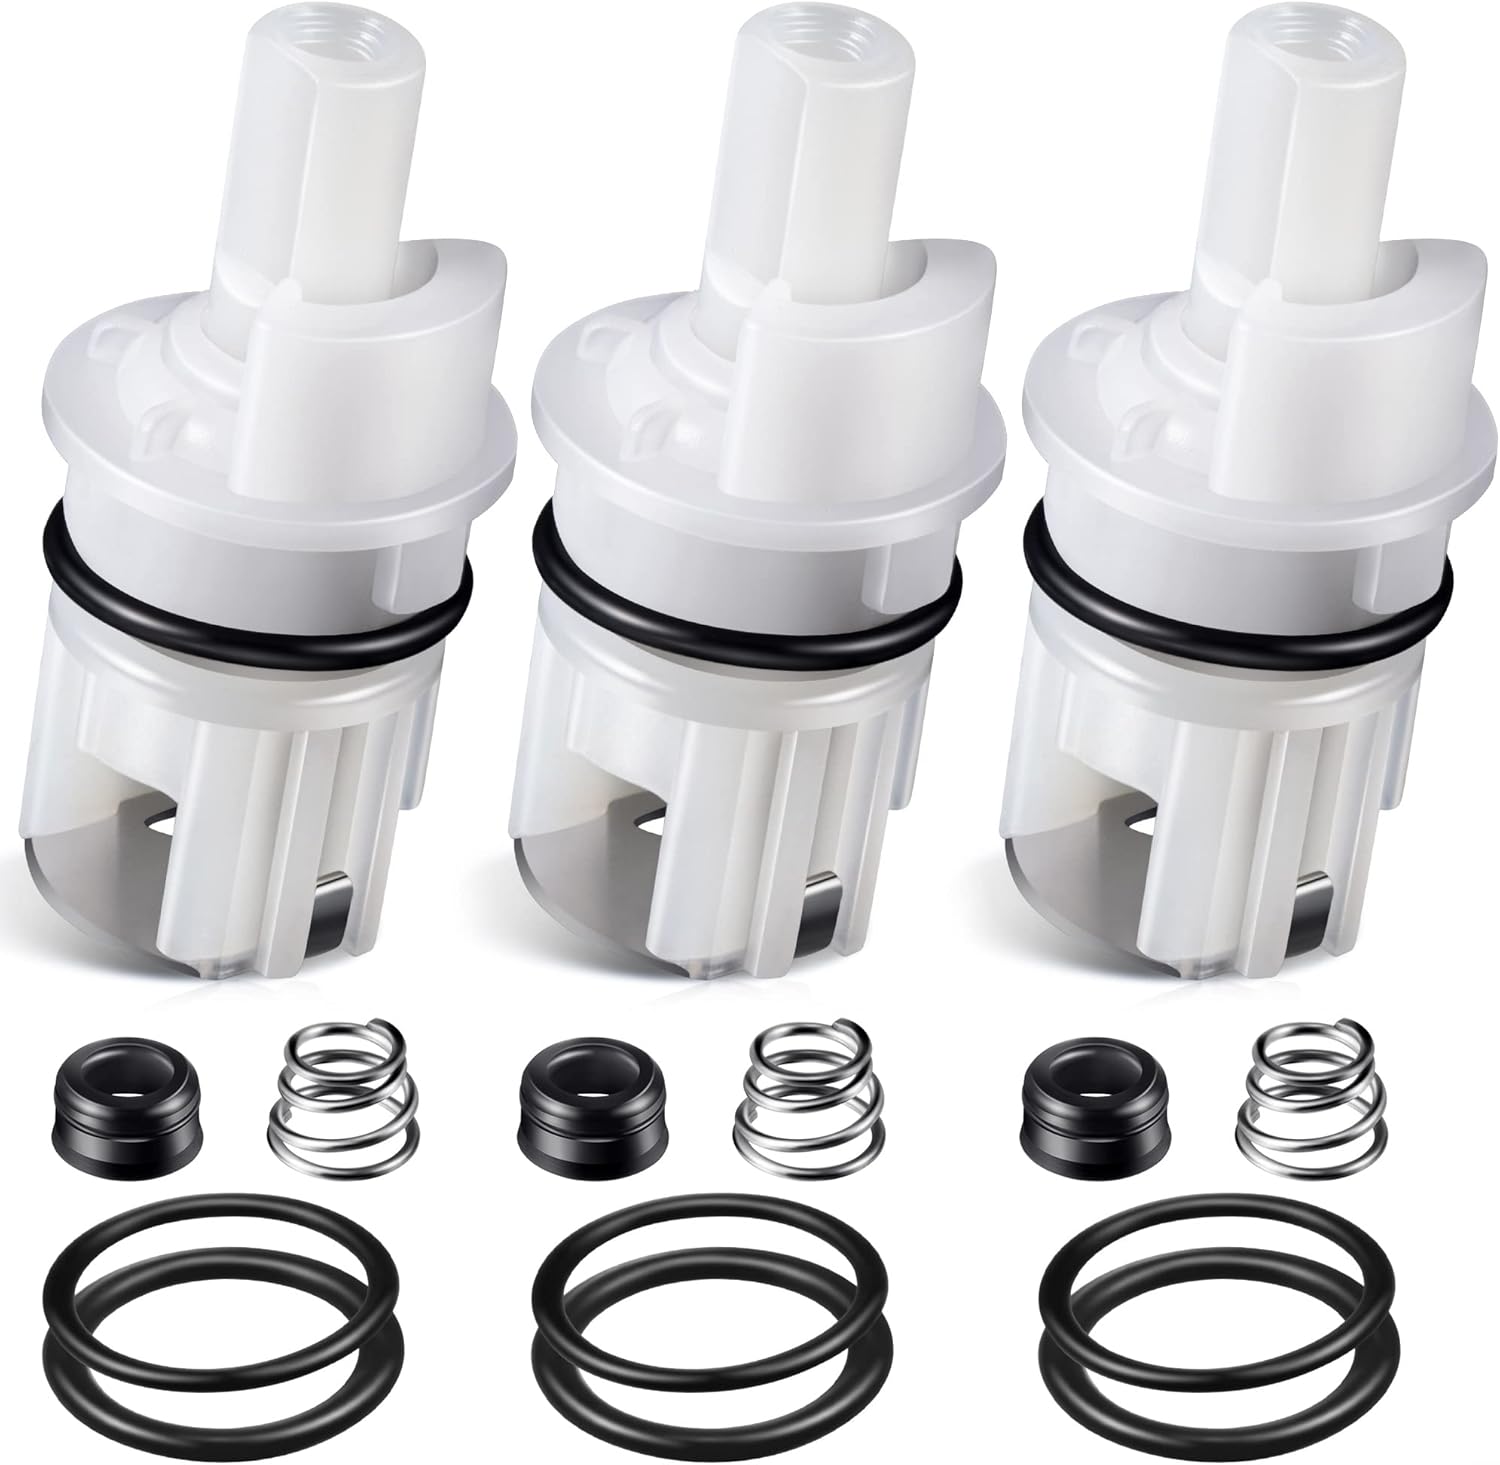
Not all shower cartridges are created equal. Using a replacement part that is incompatible with your existing setup can lead to leaks or improper function. Here’s how to ensure compatibility:
- Identify the brand and model of your faucet.
- Purchase a matching cartridge or a universal one that specifies compatibility.
- Consult customer reviews and expert opinions to make informed choices.
Using the wrong cartridge can lead to extensive repairs, increasing the cost and effort required to fix the issue.
5. Skipping the Cleaning Process

Before installing the new cartridge, it is essential to clean the valve body and surrounding areas. Neglecting this step can lead to future problems due to accumulated debris and mineral deposits. Here’s what to do:
- Remove any old plumber’s tape and debris from the valve body.
- Clean the area with vinegar or a similar cleaning solution to dissolve mineral buildup.
- Rinse thoroughly with water to ensure no cleaning agents remain.
A clean installation site will help the new cartridge function optimally and prevent future leaks.
6. Not Using Plumber’s Tape

When reassembling your shower components, it’s vital to use plumber’s tape on threaded connections. This helps create a watertight seal and prevents future leaks. Here are some tips:
- Wrap the tape around the threads in a clockwise direction.
- Use 2-3 layers of tape for a secure fit.
- Avoid over-wrapping, which can lead to difficulty tightening connections.
Proper sealing is essential to maintaining the integrity of your plumbing system.
7. Reassembling Incorrectly
When putting everything back together, it’s easy to overlook small components or to misalign parts. This can lead to leaks or malfunction. To avoid this mistake:
- Take photos during disassembly to serve as a reference.
- Double-check that all components are aligned and secure before tightening.
- Refer to the manufacturer’s installation guide for specific instructions.
Following these steps can help ensure a successful reassembly and operation.
8. Ignoring the Testing Phase
After completing the installation, it’s crucial to test your new shower cartridge thoroughly. Skipping this step can lead to undetected leaks or incorrect water temperature settings. Here’s how to conduct an effective test:
- Turn the water supply back on slowly to check for leaks.
- Test the temperature controls to ensure they function properly.
- Monitor for any unusual noises or motions indicating a problem.
Taking the time to test your installation will give you peace of mind and save you from potential headaches later.
Replacing a shower cartridge can be a rewarding DIY project, but it’s essential to approach it with care and knowledge. By avoiding these common mistakes—such as not turning off the water supply, using incorrect tools, and neglecting the importance of cleaning and proper installation—you can ensure a successful outcome. Remember to inspect your old cartridge, choose the right replacement parts, and conduct thorough testing after installation.
With proper preparation and attention to detail, you can enjoy a fully functioning shower without the hassle of leaks or plumbing issues. Whether you’re a seasoned DIYer or a first-time homeowner, these insights will guide you through the process, enhancing your plumbing skills and confidence.